Visar inlägg med etikett coastal. Visa alla inlägg

torsdag 25 februari 2016

No19. Angel Sandeal

Angel Sandeal. 

Materiallist
Hook: Maruto SS 1930 size 6
Thread: Smal transperant monofile thread
Bottom tail: Start the tail with about 20 strands of white super hair. Cut them so the only will be about 30mm. They are used for preventing the other tail material to be caught around the hook bend when you are fishing.
Tail and Body: Silver and chartreuse Angel Hair
Spot: I put a smal spot on the belly with a fluo orange or red permanent marker pen before i cote the front with uv resin.
Body cover: Solarez UV resin, thin.
Eyes:  Fluo yellow 3,5 mm flat or 3D stick on eyes. 


No 18. Copper Gammarus

Lägg till bildtext

Materiallist
Hook: Kamasan B110 size 10-6 or any similar shrimp/caddis hook with heavy hook thickness
Thread: Brown
Tail/Antenna: Mallard dyed in Summer duck color
Rib: Copperwire
Body: Holo copper icedub
Back: Brown or olive 4 or 6 mm wide body strech


1. Attach the thread 

2. Tie in a bunch, about 10 mallard fiber as a tail and the same as antenna 

3. Attach the rib 

4. and then the body-strech on top of the hook shank

5. Then dub a quite thick body and then fold the body strech as a back over the fly. 

6. Rib the body with 6-7 turns of the copperwire. Attach the rib and cut it of. Finish with a neat head. 

7. Brush the dubbing to create the legs. 

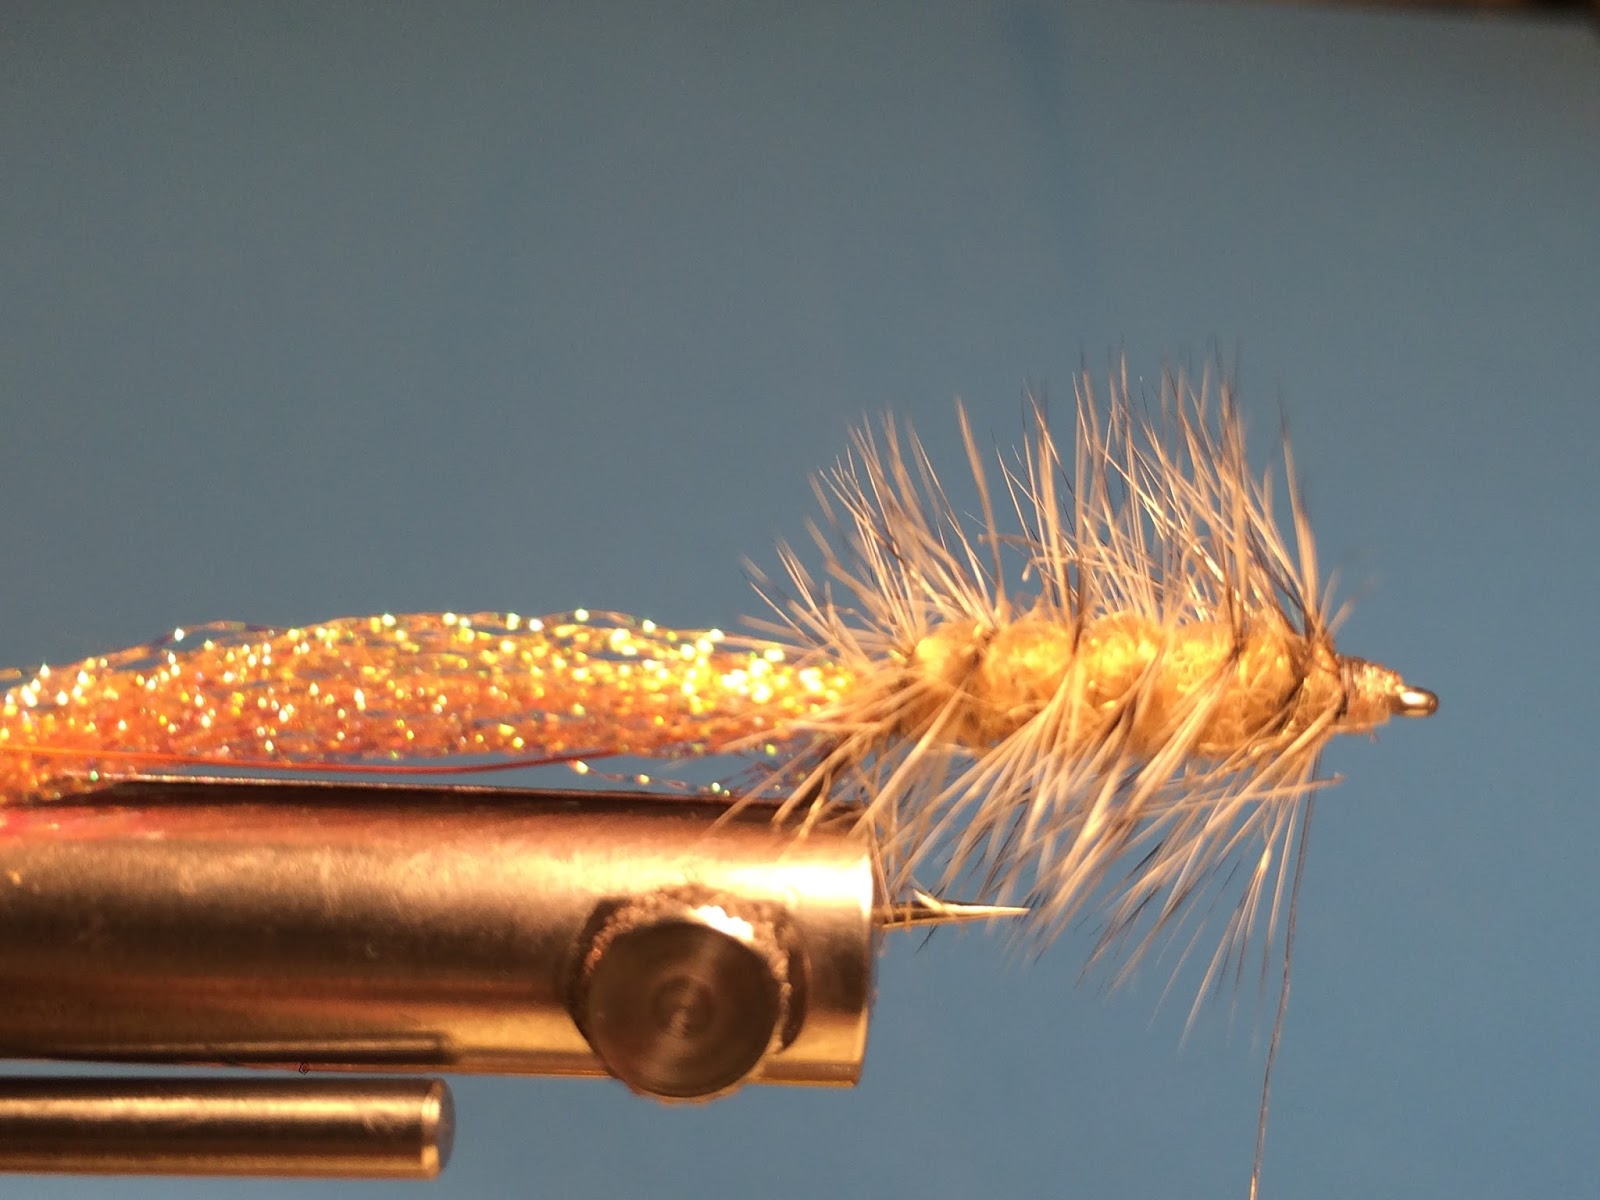
8. The fly should now look like this. Dubbing fiber well picked out.

9. Cut the dubbing fiber just above the hook point. 

10 A bunch of copper gammarus ready for fishing. 


onsdag 17 februari 2016

No 15. Sandräkan/Sandshrimp


Sand shrimp is one of my old solid and reliable designs for coastal fishing for sea trout.
Already in the late 1970s sitting the fly hanger fly above the coastal lure. 
Later when flyfishing for seatrout took over, this pattern was often the obvious choice.

Material list
Hook: Partridge CS54 size 4-8
Thread: Red
Weight: lead wire
Tail: Two grizzly or Cree colored hackle tip
Body Rib: Copper wire
Body: SLF Saltwater Dubbing in sand color or other similar dubbing
Body hackle Grizzly or Cree colored cock hackle. Must be of good quality with quite rigid hackelfibrer and it'll be pretty long.
Front hackle: The same as the bodyhackle. 
Head: Red tying thread.


1. Start with winding 10-12 laps lead wire around the hook shank.

2.Attach the thread and secure the lead wire by wrapping the thread a few times back and forth over the lead wire. Stop with the thread at about the hookbarb.

3. Take two grizzly or Cree hackle.
To use for the tail you can use a cheaper variant then genetic cock hackle. 

4. Attach the hackle on the hookshank just above the hook barb. The tail should have a lenght of about half or 2/3 of the hookshank. 

5. Attach 10-15 cm copperwirw and then dub a nice carrot shaped body. Rememder to leave a litle space in  front of the hook eye so that ther will be enough space for the fronthackle and head. 

6. Attach the boody hackle.

7. Vind the hackle 7-8 even turns over the dubbed body towards the tail. Secure the hackle by winding the copperwire towards the hookeye and through the hackle. 

8. Secure the wire and remove the rest. 

9. Take another hackle 

10. Attach the fronthackle in the tip and doubble fold the hacklefibers. 

11. Wind a nice frontcollar. Attack the hackle and remove the rest. 

12: Finish the fly with a neat head and warnish it and the fly is ready for action. 


tisdag 9 februari 2016

No 13. Minizonker

Gray mini Zonker is a very simple pattern, both tying but also in the choice of materials.
I have a special love for simple flies in my practical fishing. I foten fish hard and it takes quite a few flies on my fishing trips. Mini Zonker has al that the ingredients that I look for. Simple and fast to tie. Of course you can also tye this type of fly in a larger sizes. I have managed quite well with the coastal fishing for sea trout on the coast of Skåne in Sweden with this fly. 


Materials list

Hook: Maruto SS-1930 Size 10-8
Thread: White. I like UTC 70 thread.
Body. 5-6 straw pearl flashabou that is wrap over the hook shank a couple of times back and forth. Remember not to go forward with the body until the hook eye.
If you want a really strong body. You can cover it with a layer of UV varnish / glue.
Wing: A short gray Zonker Strip. It will only be enough to just reach behind the hook bend. It should only be attached in one point and that is just behind the hook eye.
Eyes: Black chain eyes
Main / Front Body: Hair from the gray zonker strip put in a dubbing loop, twisted and then wound around the eyes. Once it is done, and the thread is attached and cut of I brush out the hair and cut them down to a small pretty head.
Remember not to use too much hair. It easily becomes bulky and hard to trim a nice head. 


måndag 25 januari 2016

10 and 11. The Orange Nullermand and Converted Orange Nullermand

In the 80's when I seriously started fishing for seatrout on the coast with fly, the number of patterns that were counted as coastal flies were easily counted.
Just then, as now, it was the Danish coastal fishermen that where creative and including Jan Grünwald accounted for many published designs.
One pattern, that Jan had published, struck me early and that i used frequent was Orange Nullermand. A shrimp patterns that worked both as a hanger, on the leader and to bombarda fishing.
At that time there were not bombarda in itself. We fished with homemade throwing weights made of  round wood rods that was sanded down to a suitable form and weighted before they were painted and lacquered. For many years Nullermanden was a favorite pattern but with time it was left to oblivion, to a space in the fly box where it got to be undisturbed for many years, but then, a few years ago, it was put back on the fly-tippet and delivered a nice sea trout again.
After a while, when I was tying up new orange Nullermand I started thinking about converting the pattern with today's modern hooks and materials.
The converted pattern delivered almost immediately and now it along with the original pattern their place in the box


The Converted Orange Nullermand on top and the original bel ow


Converted Orange Nullermand
Materials List
Hook: Mustad C47 S shrimphook
Thread: Clear mono escape tying thread
Weight: 6-8 turns leadwire
Tail: 8-10 Golden Pheasant tippet fibers
Back: about 15 strands of dark olive or peacook green crystal flash
Back Cover: UV varnish
Rib: Small round goldtinsel
Hackle: Orange grizzly hackle
Body: Saltwater Dubbing, burnt orange,
Head: Tying thread

Original Orange Nullermand
Materials List
Hook: Double Salmon Hook size 6-12
Thread: Black
Tail: 8-10 Golden Pheasant tippet fibers
Back: 6-8 strands of Peacook hearl
Rib: Small round goldtinsel
Hackle: Orange grizzly hackle
Body: Orange chenille
Head: Tying thread


tisdag 12 januari 2016

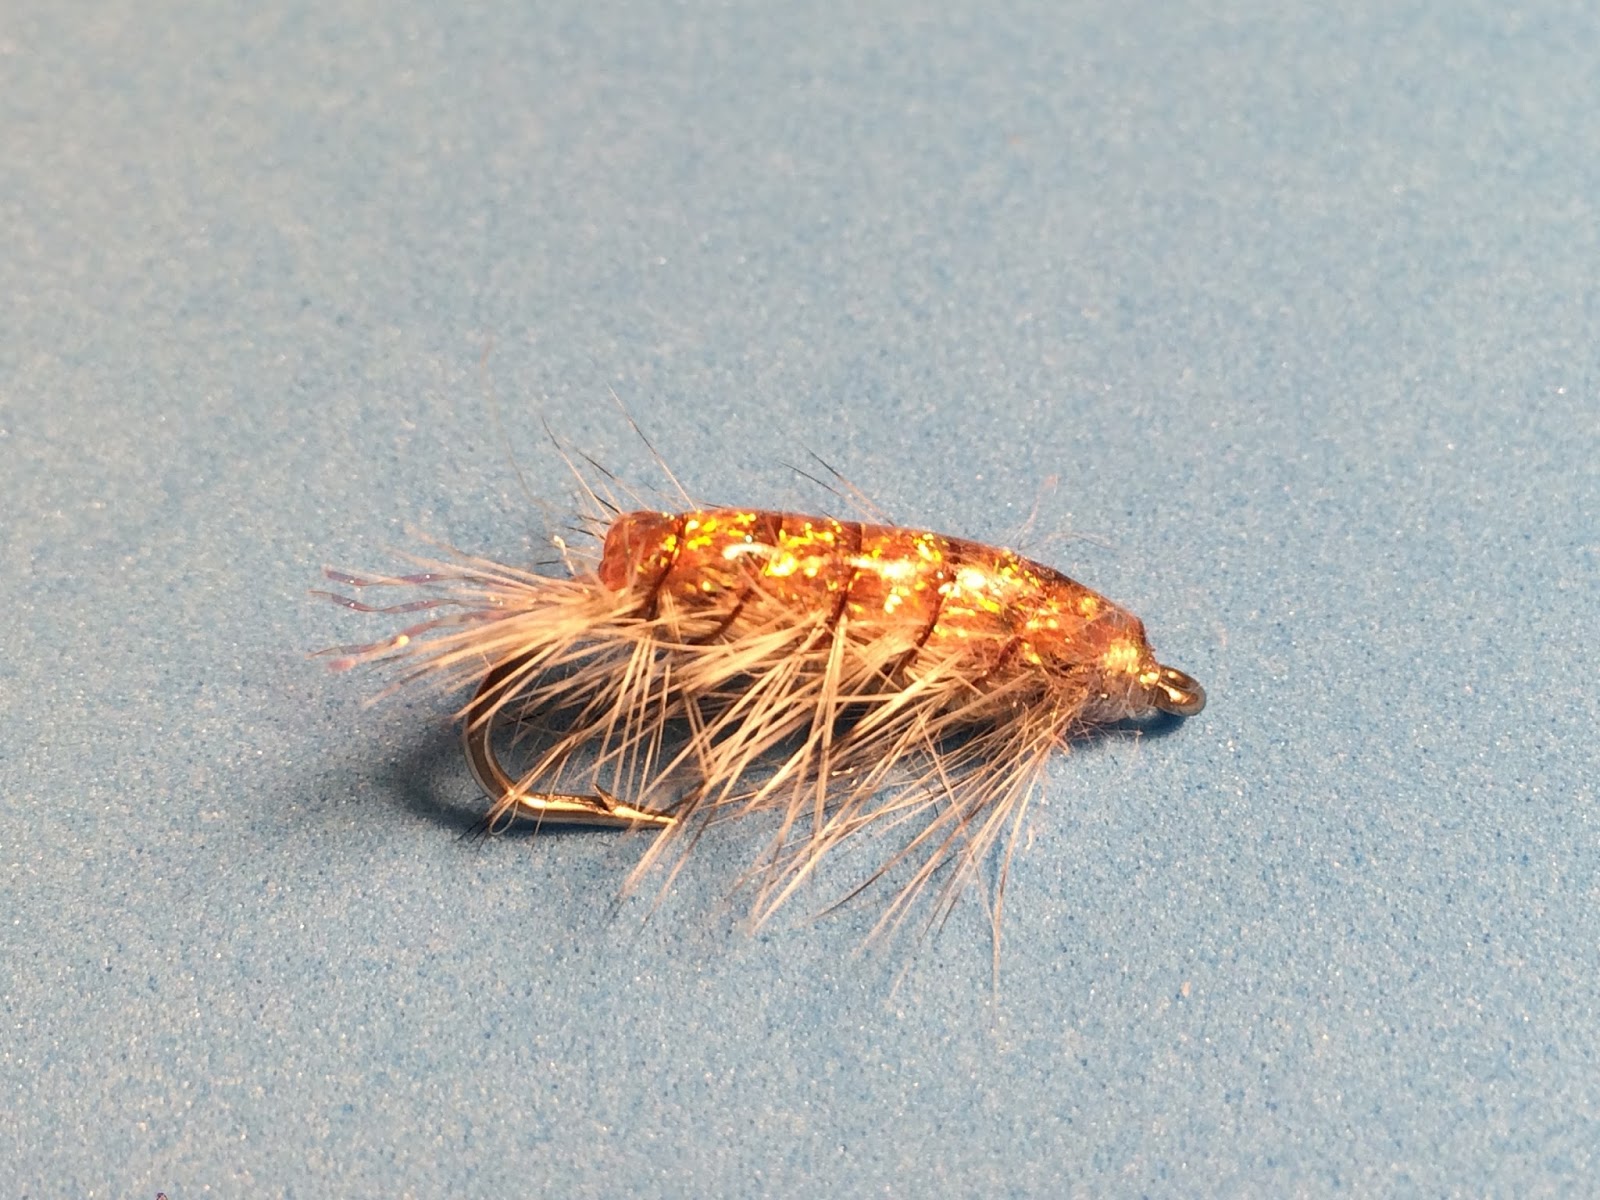
No 4. UV Epoxy Gammarus


UV Epoxy Gammarus


Material list
Hook:  Maruto SS-1930 size 8 or 6  
Weight: 6-8 turns of lead wire
Thread: Clear nylon thread
Antenna/tail: 4 strands of crystal flash. This colour is something like pale orange, almost tan.
Rib: Copper wire
Body: Saltwater dubbing. Transparant Tan
Hackle: Grizzle Cook hackle
Back: About 20 strands och the same crystal flash you used to the antenna.
Shell: UV resin


1. Wrap the hook with 6-8 laps lead wire.


2. Attach the thread and secure the leadwire. After that fasten the copperwire.


3. Take 4 crystal flash and tie them in as antennas.
Cut them so length will be about 10 mm.


4. Take about 20 strands of the same crystal flash and tie them in on top of the antenna.  


5. Attach the grizzle hackle in the tip on top of the crystal flash.


6. Dub the thread.


7. Wind a boddy. It should be a Little thicker in the middle

8. Wind the hackle 6-7 turns around the boddy. 


9. Fold the crystal flash over the body and hackle and attach it just behind the hook eye.


10. Cut of the rest of the crystal flash

11. Rib the body with 6-7 turns of the copper wire.

12. Fasten the copper wire. Cut it of and form a neat head with the thread and cut of the thread.


13. Cover the back with a layer of UV resin.


14. Cure the resin with UV lamp.


15. The gammurus flie are now ready for action.


söndag 10 januari 2016

No 2. Polar bear baitfish

 Polar bear baitfish
Polar bear bait fish is a safe card for sea trout when they are chasing bait fish.
The main material in the fly is the polar bear. Fur from polar bears have a perfect shine and frizz. Polar bear may be difficult to obtain and when you purchase so remember to check that it comes from serious suppliers who have certificates for trading with polar bear.

Material list
Hook: Mustad C47S size 4
Thread: Clear mono nylon thread
Body: Groundhair from a stack of white polar bear hair.
From the same batch that should be used to the wing.
Underwing: A narrow stack white polar bear hair were the undercoat has been removed.
Overwing: Kingfisher or light blue polar bear hair. The same procedure as for the underwing
Head: Medium mylar tube
Eyes: 4-5 mm 3D epoxy eyes. Here i have used glow in the dark Eyes.
Head/body coating: Solares UV Resin Thin or any kind of UV Resin you like. But i Think that Solares is one of the best UV resins on the market. It cures fast and easy and it is 100% tack free.
Bellymark: Fluo orange or red permanent marker pen


1. Attach the mono thread


2. Take a smal bundle of whit/natural polar bear hair.


3. Remove the under coat from the bundle.  
Keep bouth bundles of hair


4. Attach the bundle with under coat as a body or or should we call it a belly insted.

5. Then take the top coat and attach them as the under wing.
The length of the wing should be approximately three to four times the length of the hook shank


6. Prepare a smaler bundle of the blue polar bear hair. 
Remove the under coat and keep the top coat hair.


7. Attach the blue hair as a over wing.
The over wing will be a few mm longer than the under wing.


8. Trim off the remains sticking out from of the wing material.


9. Secure the wing with a dropp of superglue and some tight turns of tying thread.


10. Cut a piece mylar tub with approximately twice the length of the hook shank.
Attach the thread and cut it of


11. Clean the mylar tubing from the core and slide it over the hook so that it
covers a bit out over the wing and belly.


12. Here comes a tricky moment. You have to attatch the thread over mylartube, just behind the hookeye. You do that by adding a couple loose turns with the tying thread around the mylar tub and then tighten the thread so that the thread and mylar tube is secured to the hook shank, just behind the hook eye. 

13. Trim off excess material

14. Fasten thread. Cut the thread and secure it with a small drop of super glue.


15. I usually burn off the extending parts of mylartuben that were difficult to cut of.


16. Poking up the mylar tube at the hook bend with a needle or similar.


17. Now it´s time to finish the fly by building a head with eyes by using 3D epoxy eyes and UV resin.

18. Place eyes on the side of the front body. I like to use luminous eyes.
After you have secured the eyes cover the frontbody with a coat of UV resin. 

19. Make sure it´s even spread around the front body.


20. Secure the resin with a UV lamp. You light ned to coat it with a second later of UV resin. 

21. Mark the belly with fluo orange or red permanent marker pen.


22. Make sure that you dont paint over the eyes. 

23. Add a nother layer of uv resin and cure it with the lamp. 
Now you have finished a sustainable and efficient small fish imitation. 
Of course you can use other colors of polar bear hairs and you can add some flash or any kind in the wing if you want to. 

20. Ready to take down the predators